Cookie anyone?
Мы используем файлы cookie, чтобы обеспечить вам наилучшее использование нашего веб-сайта. Продолжая свой визит на веб-сайт, вы соглашаетесь на использование файлов cookie. Узнать больше


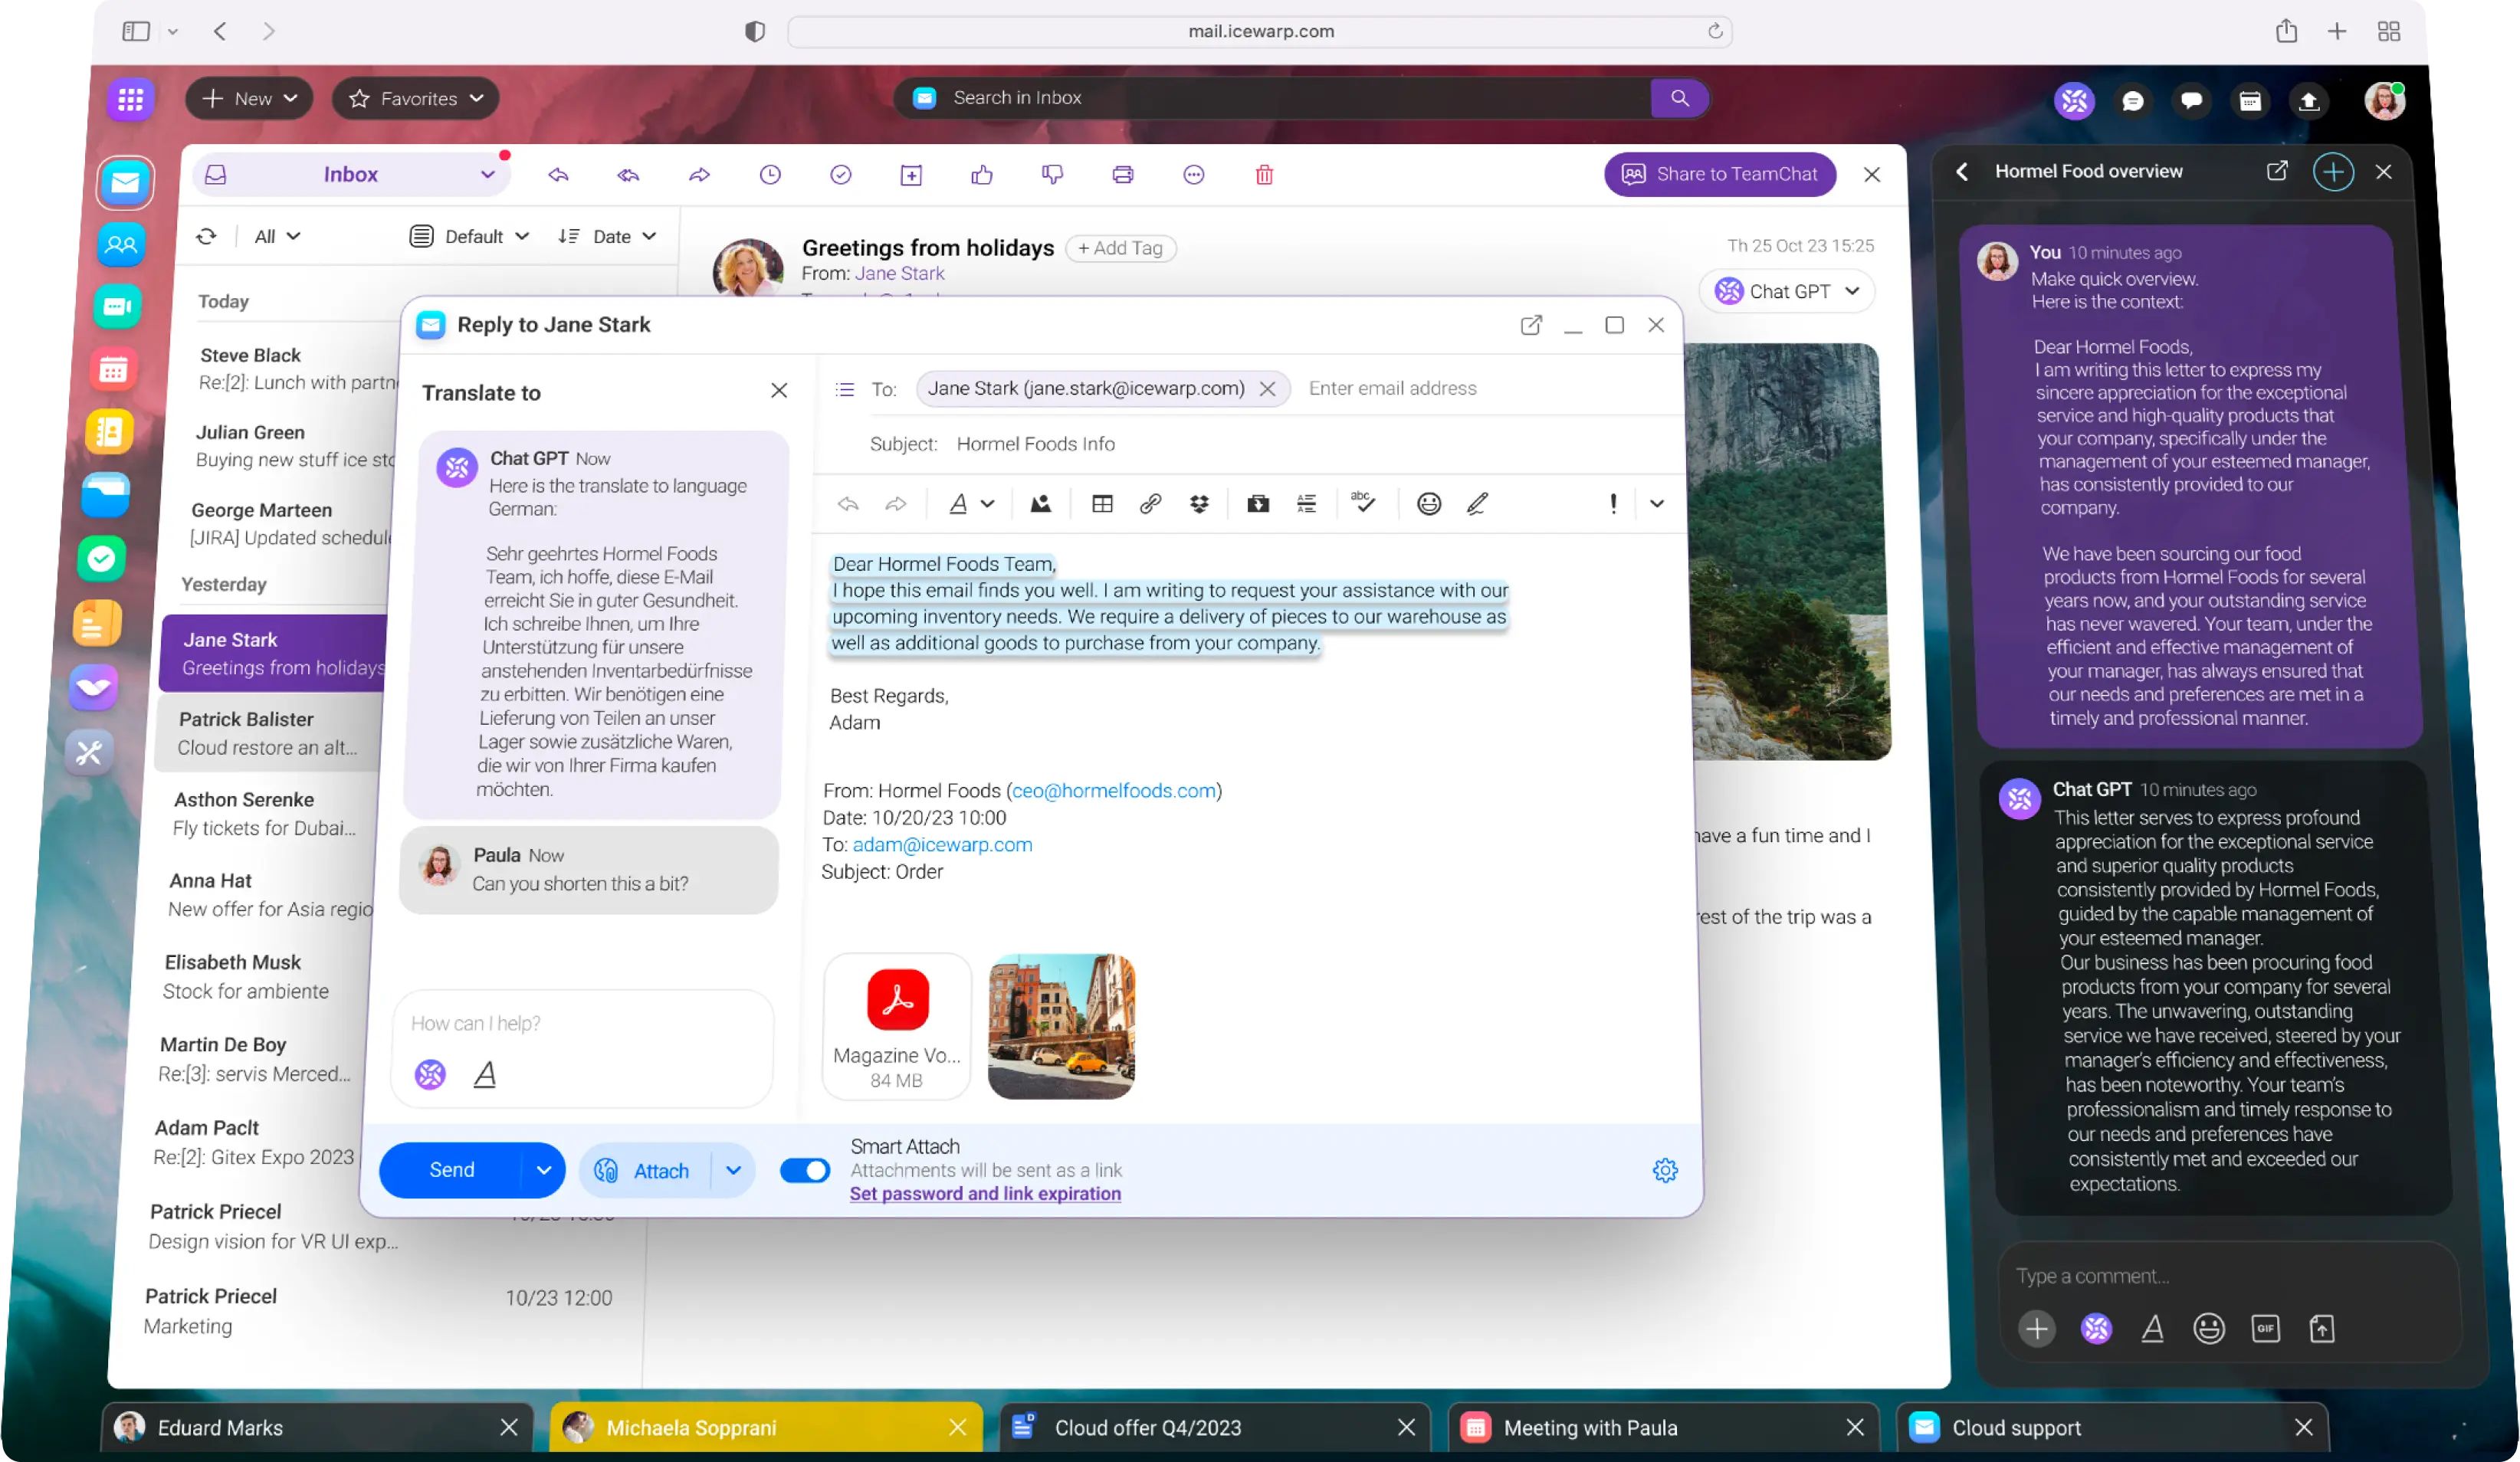

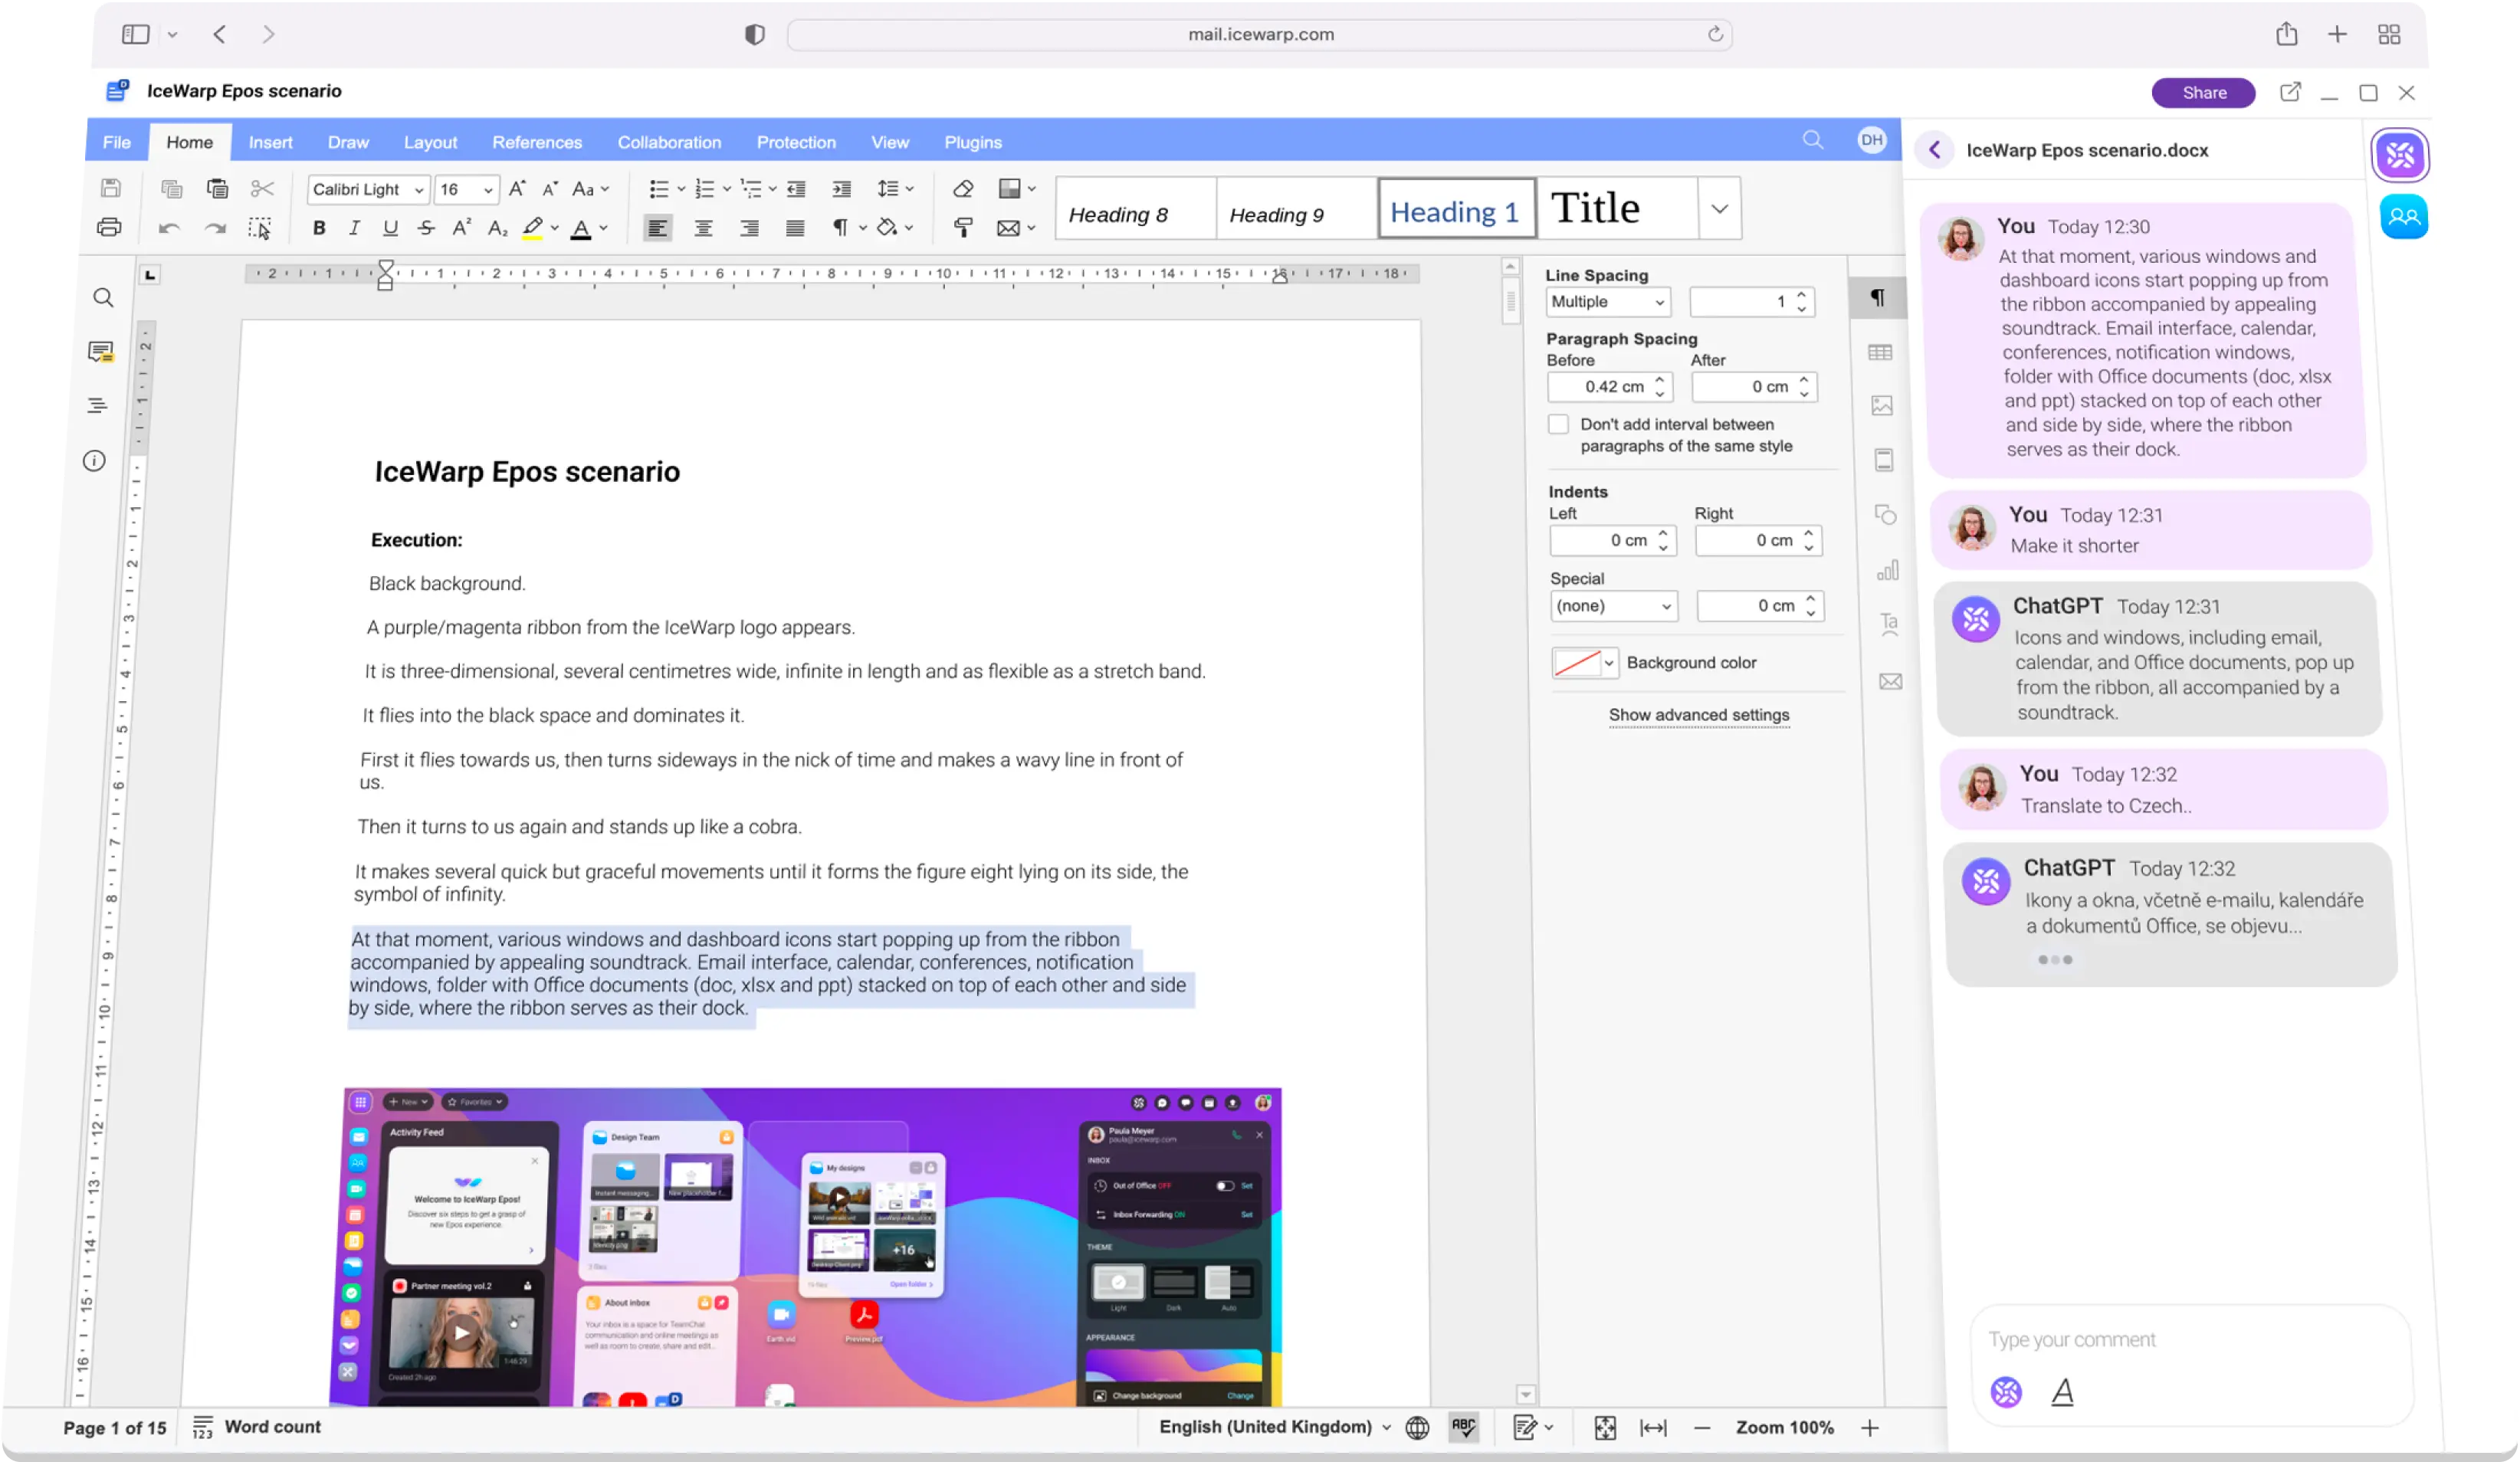
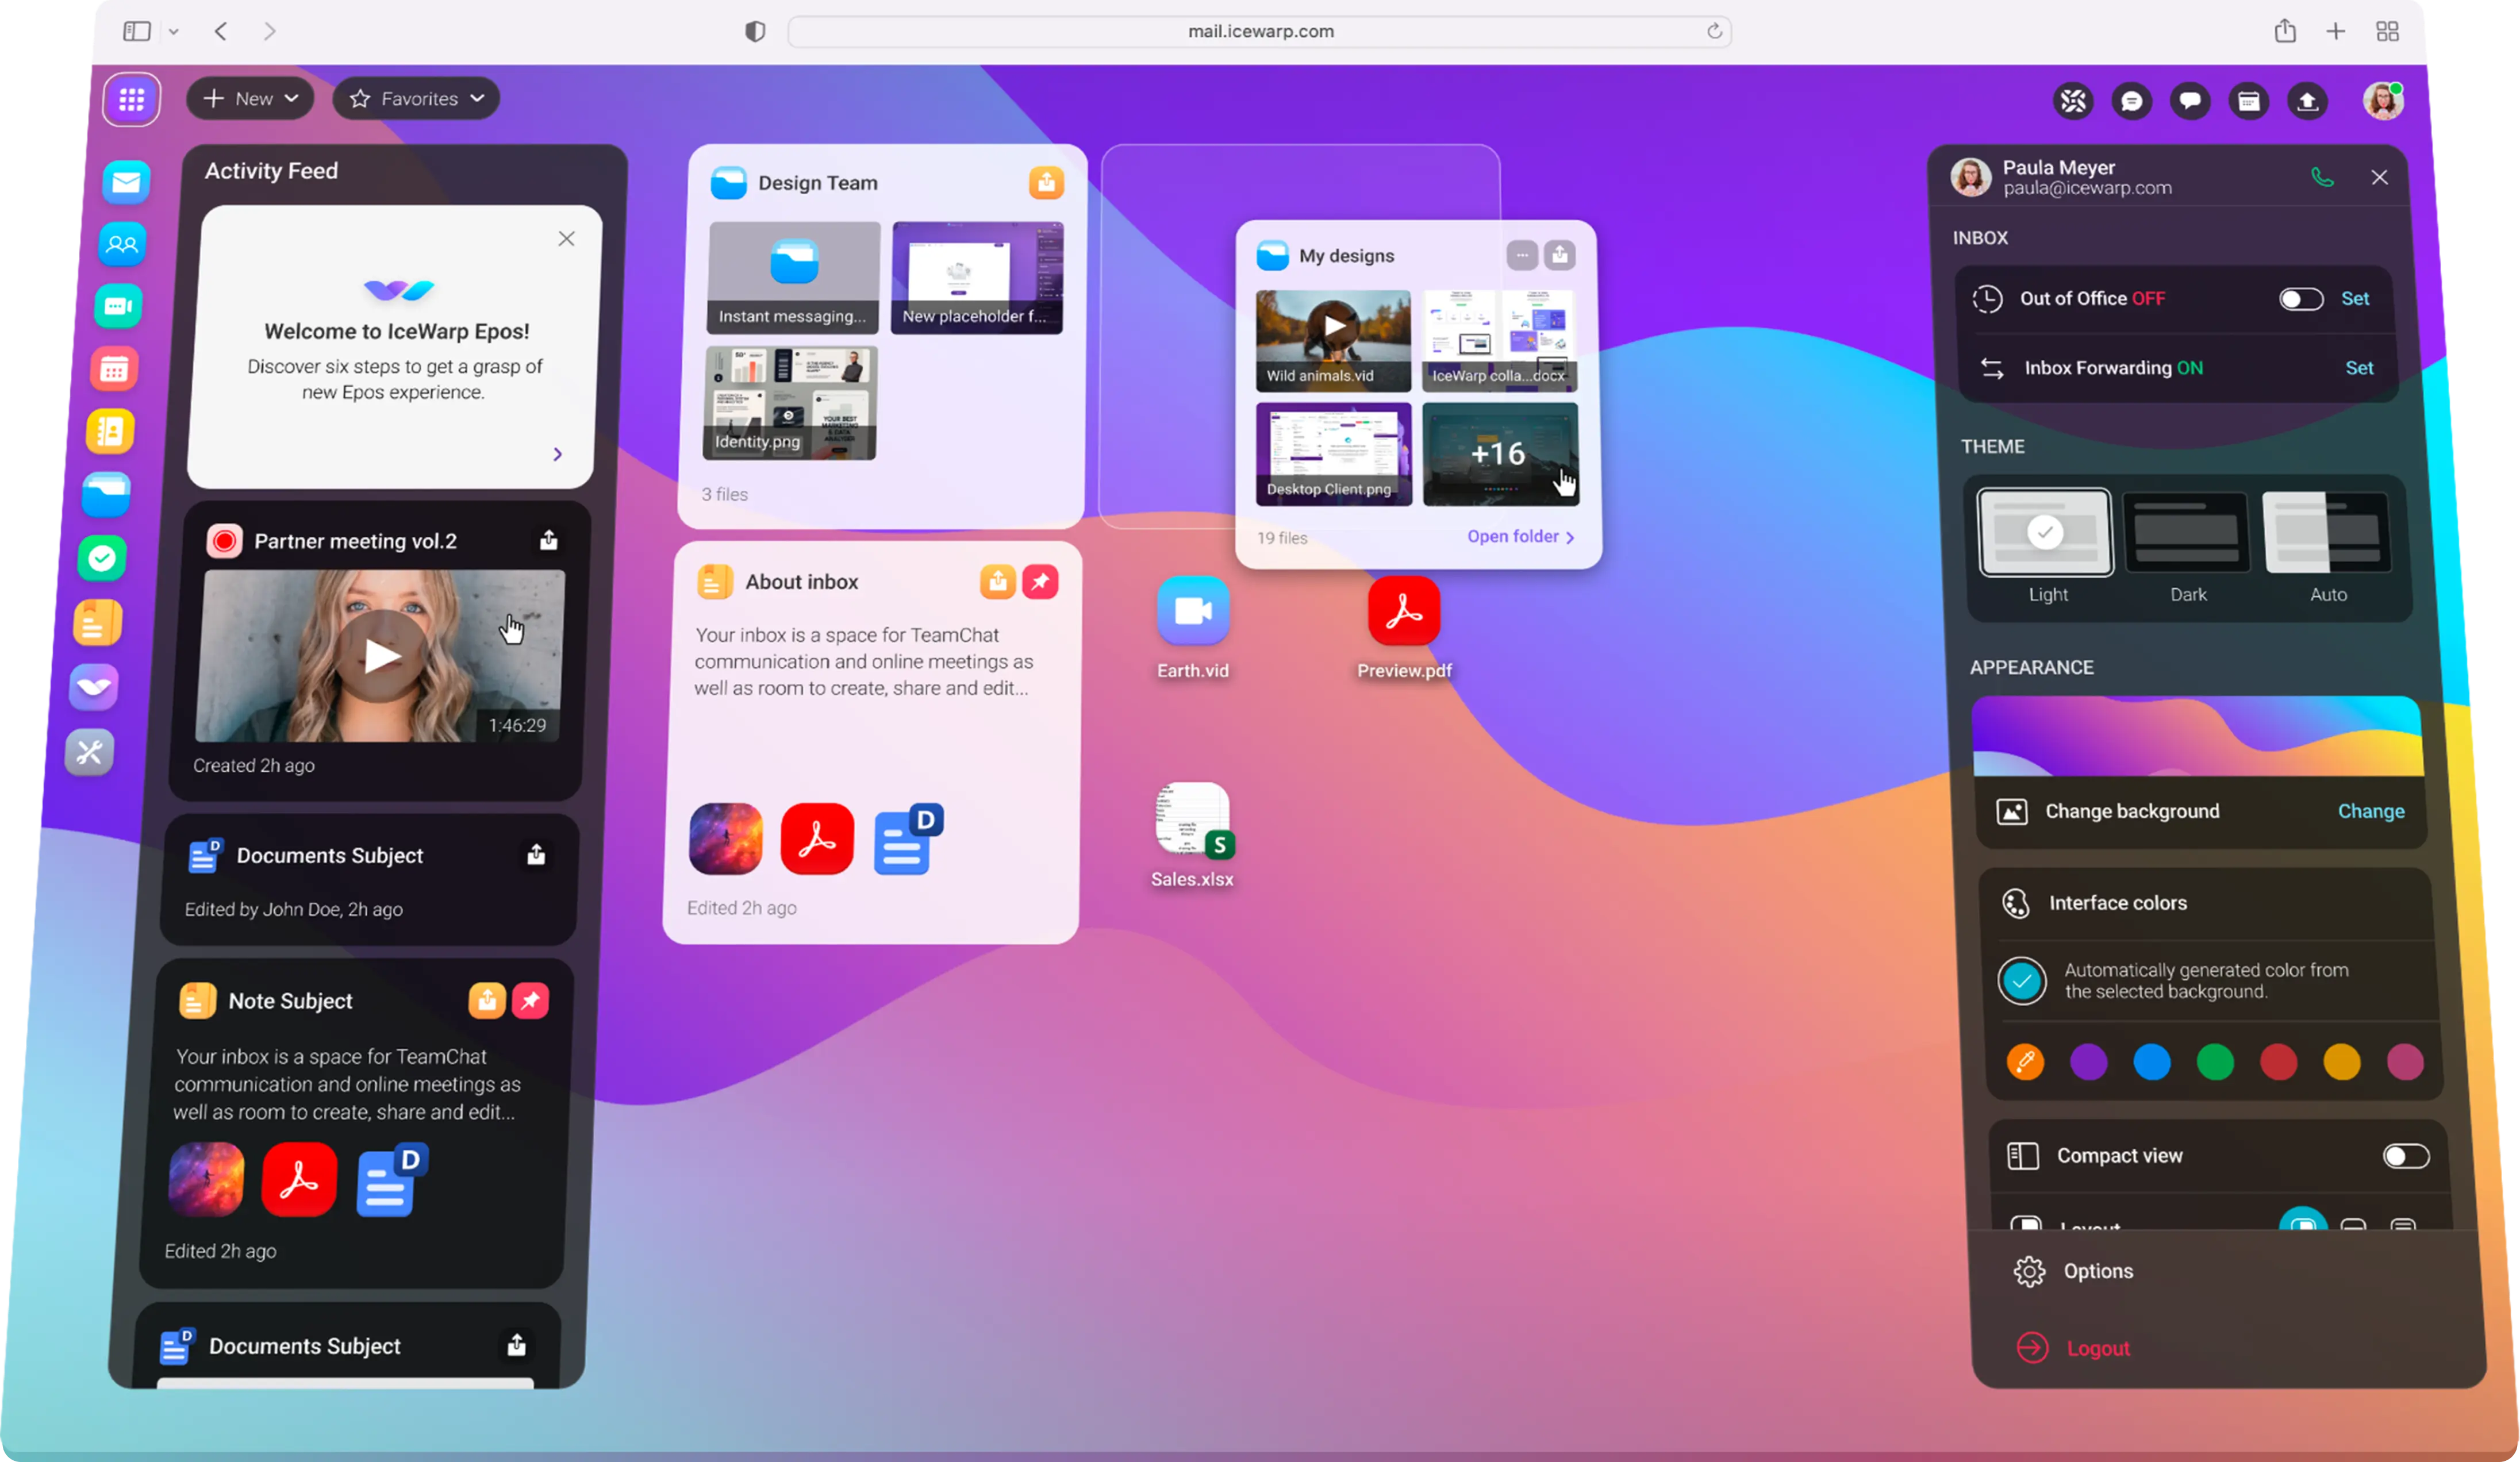
Transform your office agenda with ChatGPT integration. Compose email with auto replies, summarize long chat conversations or improve style of your documents.
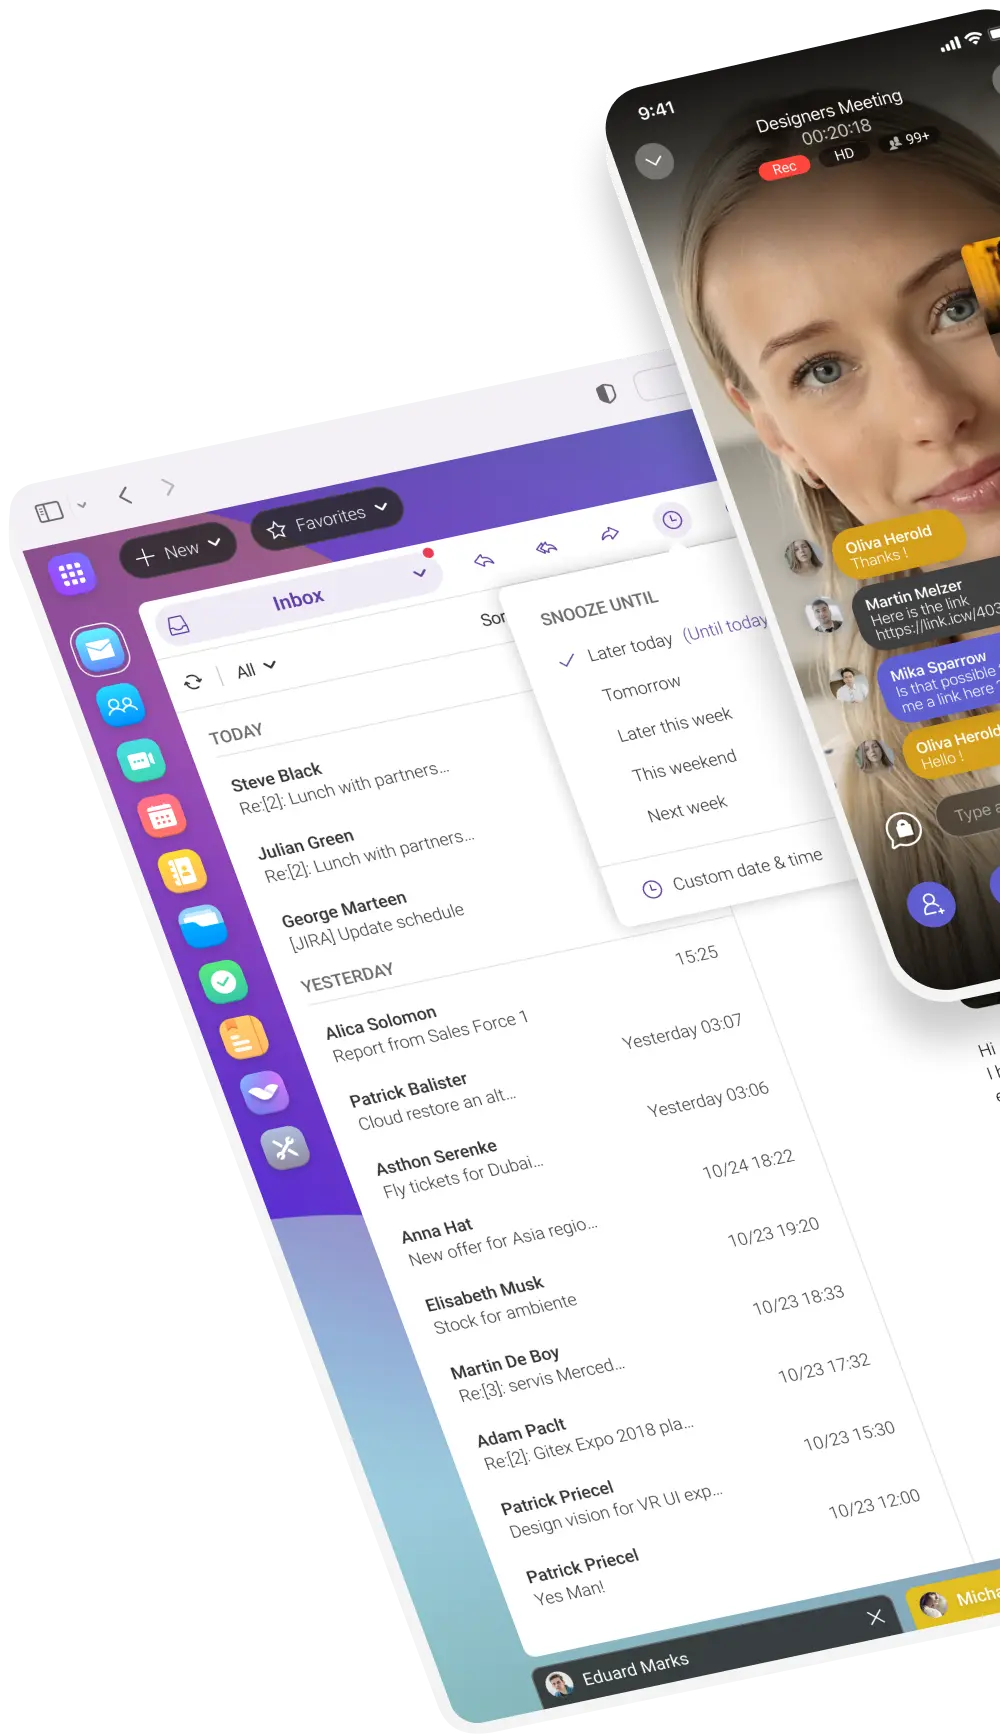
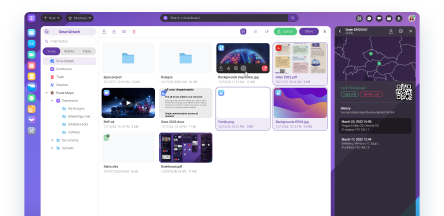
Learn all the details that make a difference in new releases.
Offerings tailored to specific business segments.
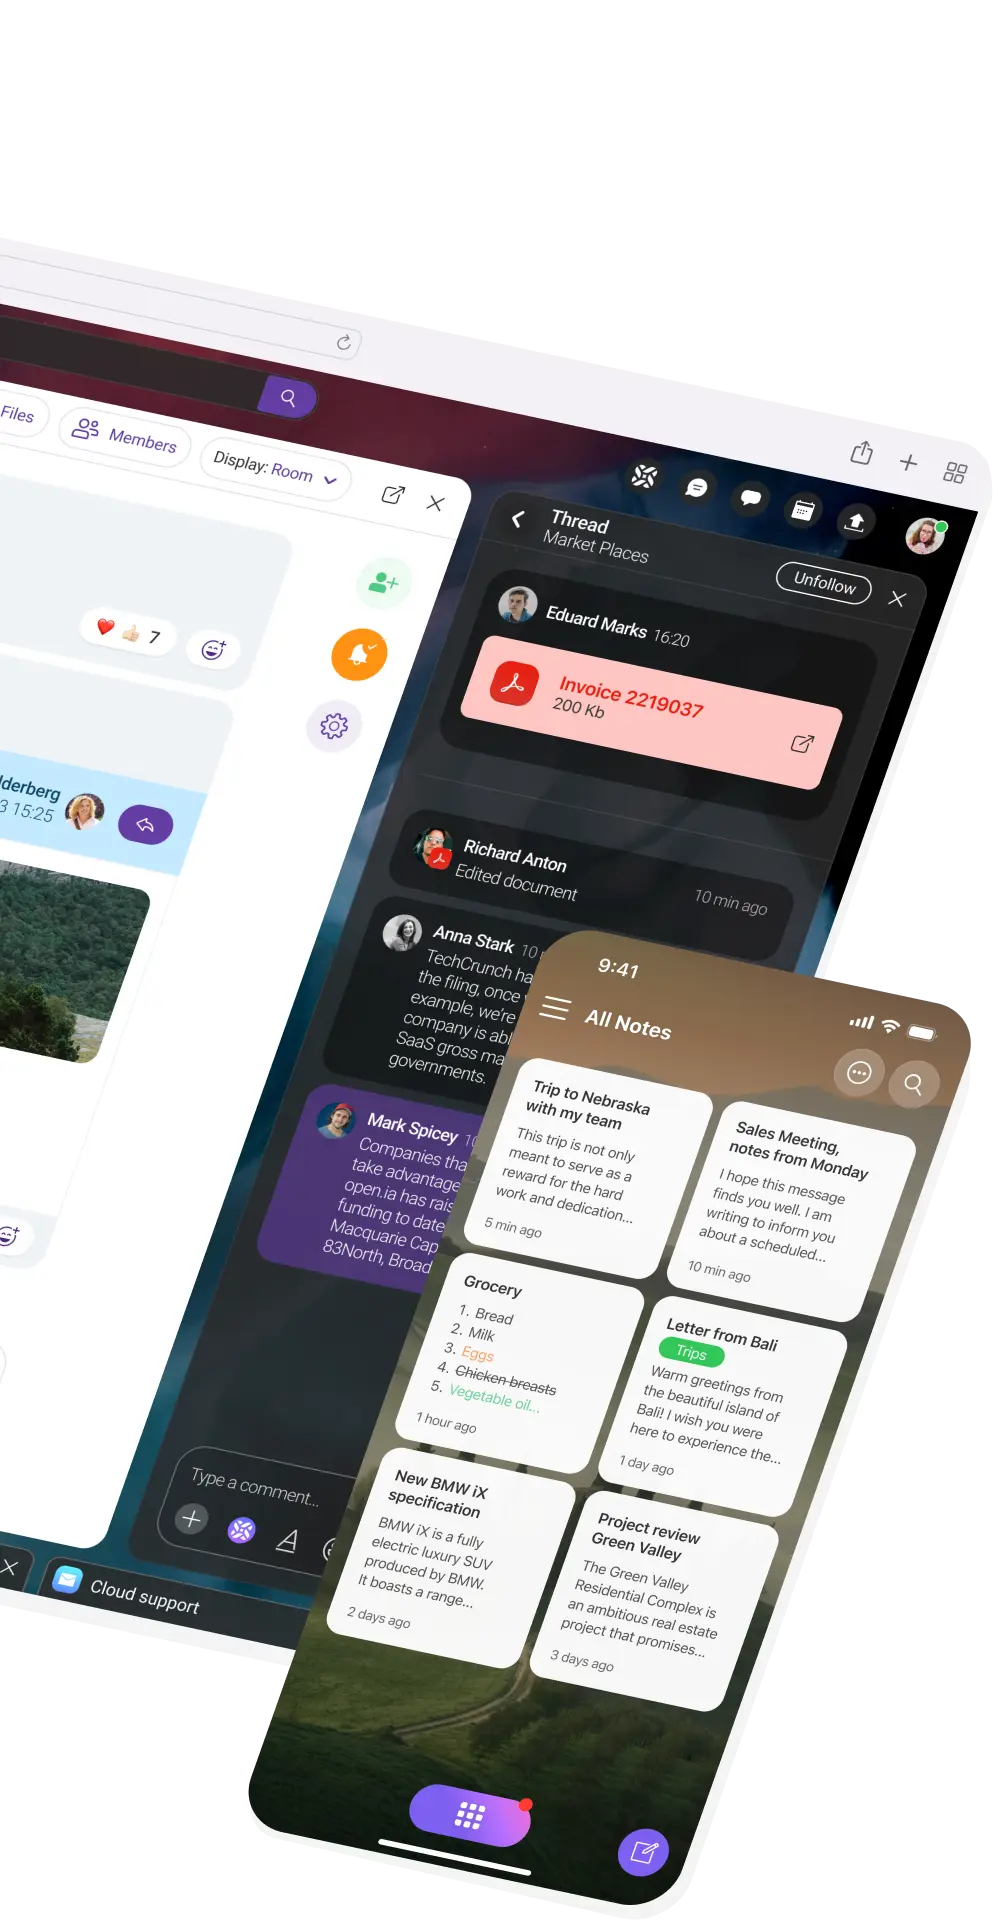
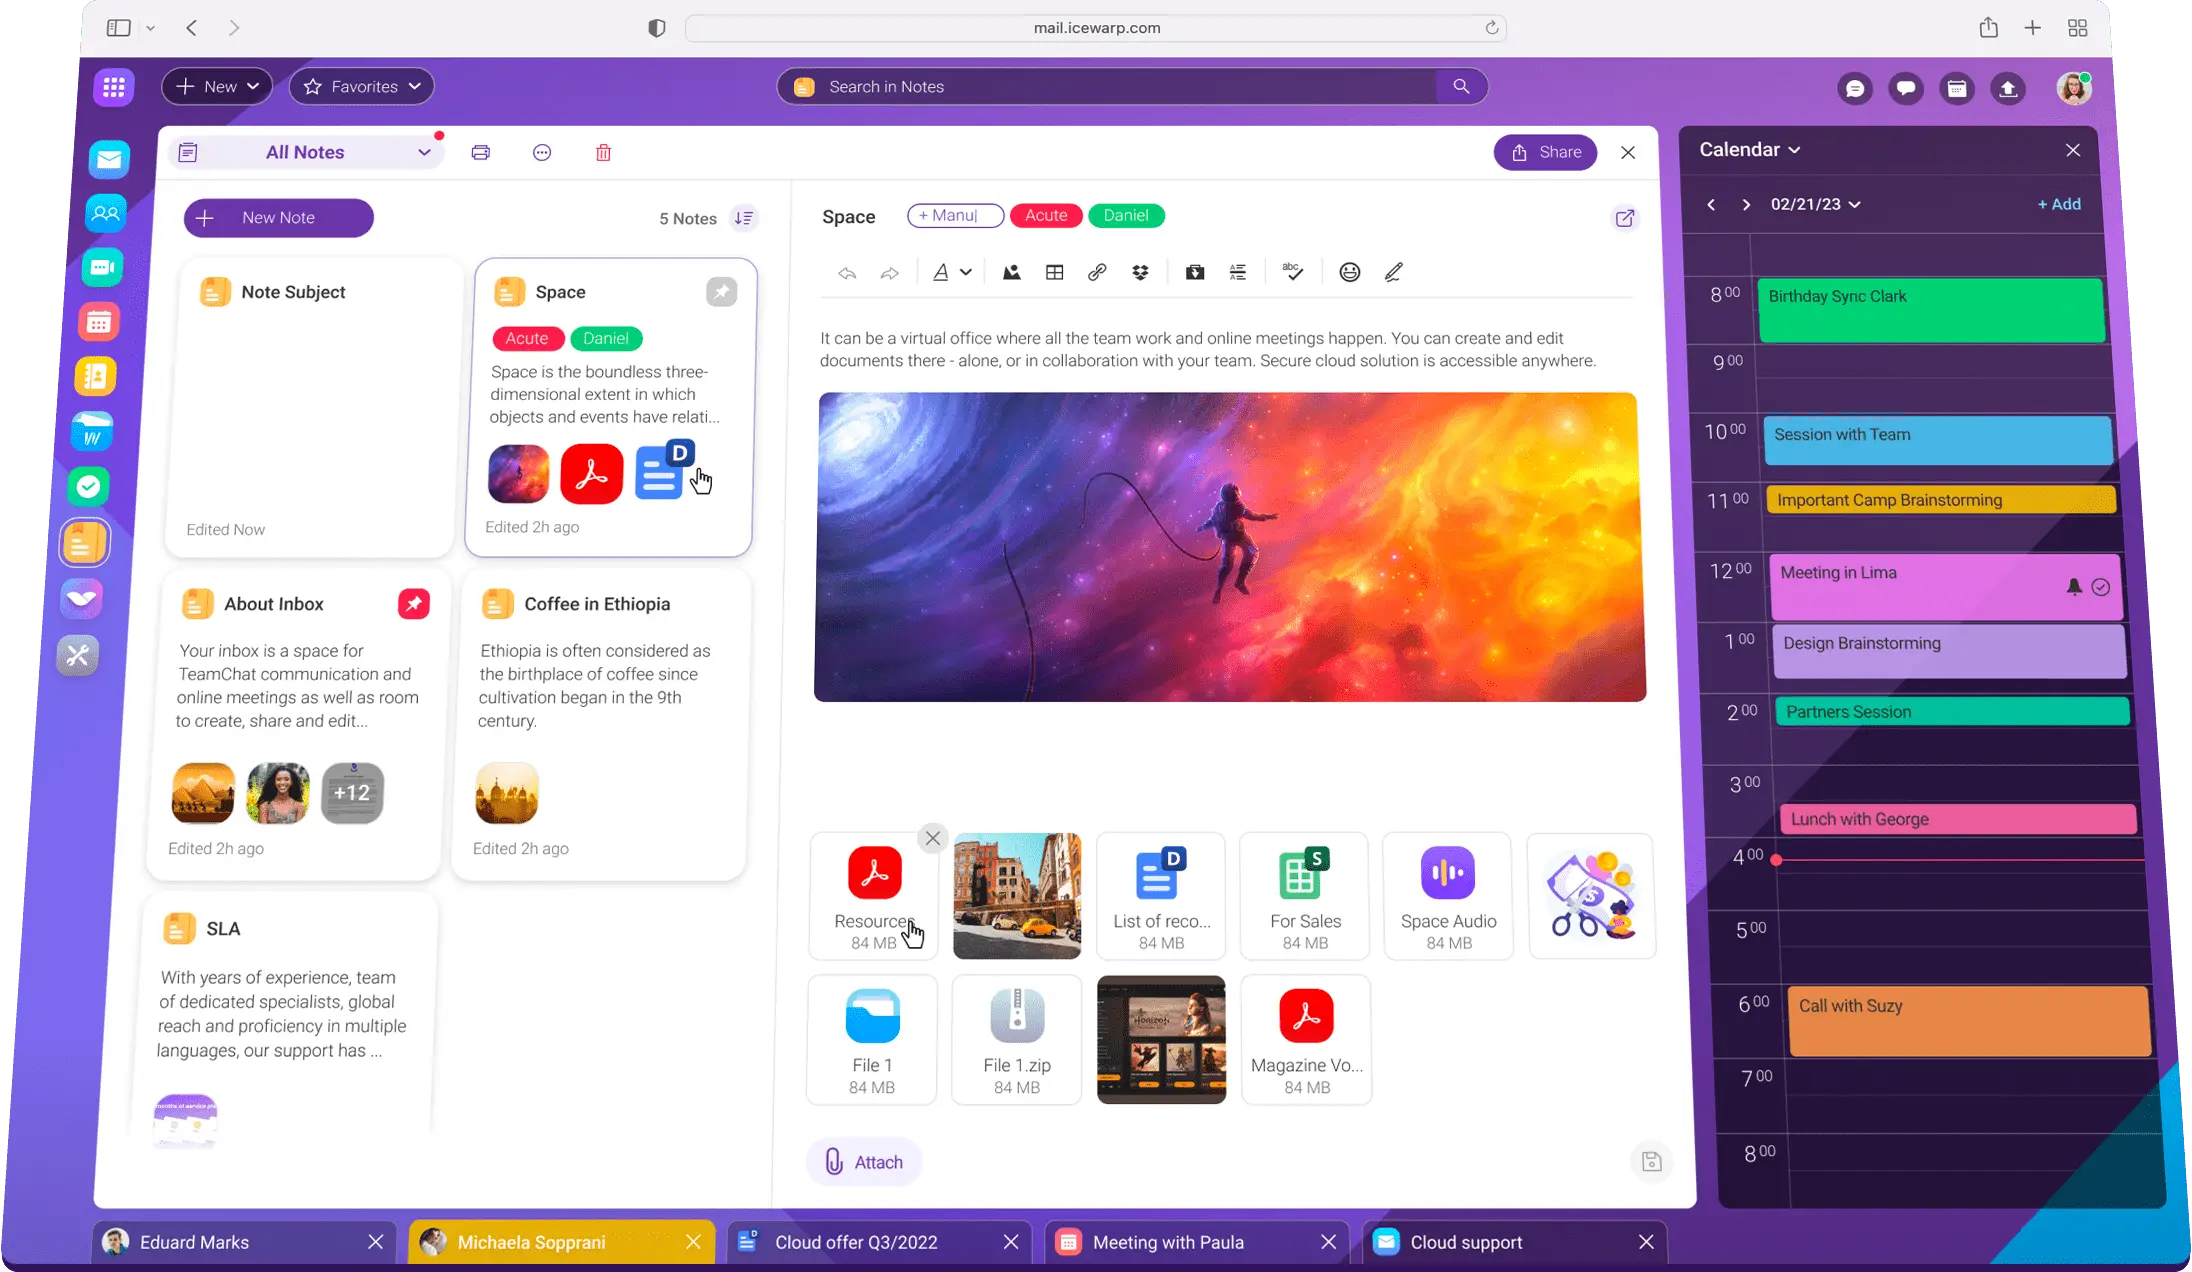
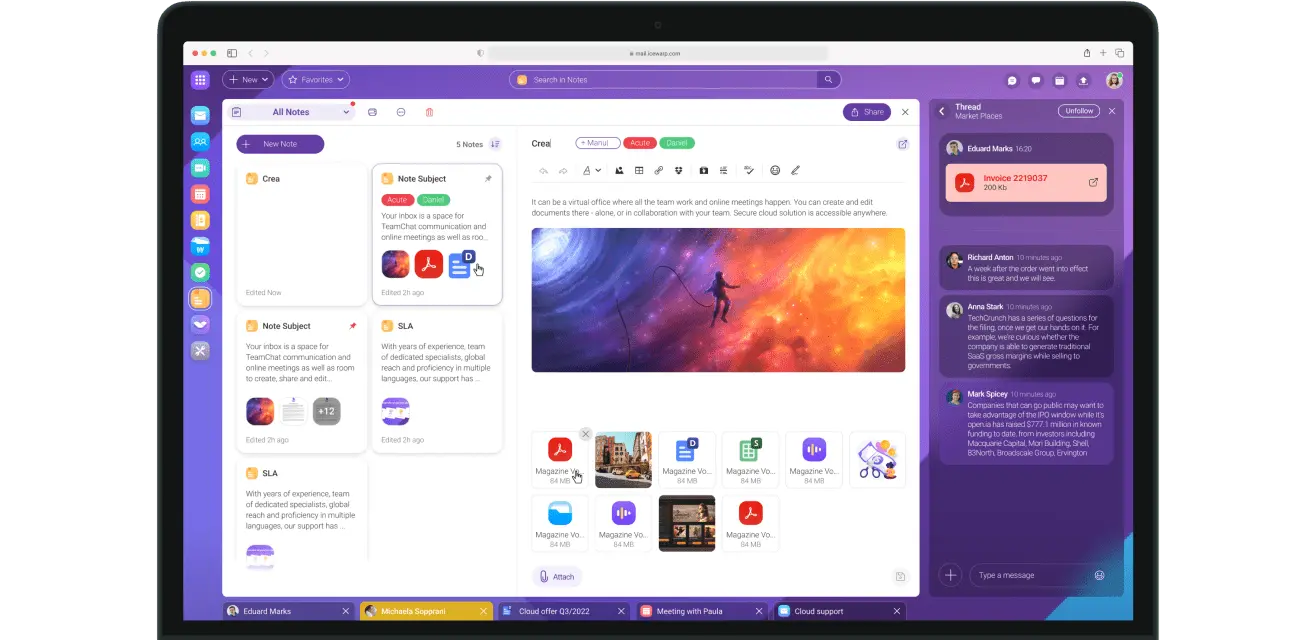
With EPOS generation we have brand new Notes!
Compare IceWarp features with our major competitors.

Looking around for a better place to work? We might be searching just for you!

 Highland Rivers Behavioral Health


 Carabinieros de Chile